


Japanese Eyelash Extensions: Complete Guide for Lash Artists

Elevate your skills with Japanese lash mapping and adhesive tips. Create lasting natural or anime looks with perfect curls and superior retention now.
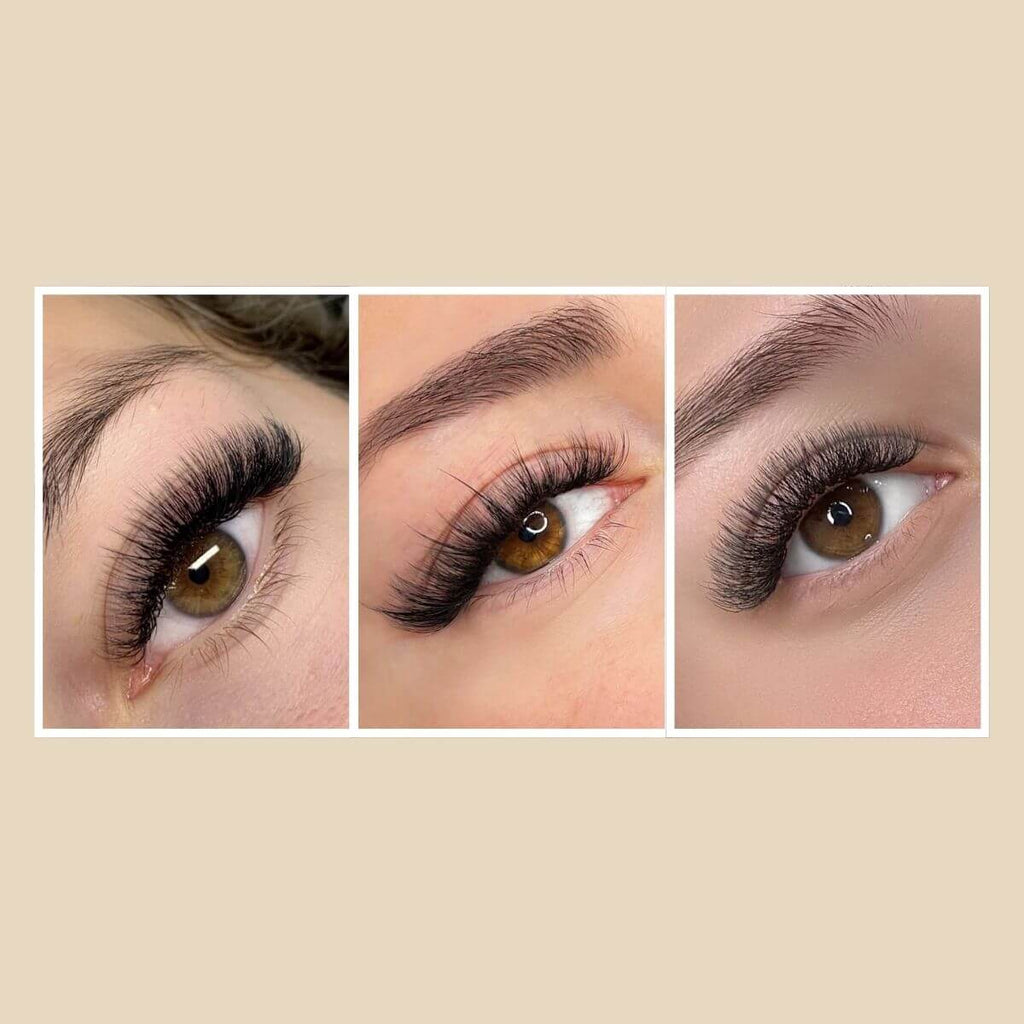
Want to stand out in a crowded lash market? Japanese eyelash extensions give you that edge. Your clients will absolutely notice when you create natural looking lash extensions that actually suit their face instead of cookie-cutter sets. Whether you're doing classic individual lash extensions or trying out those fun anime lash extensions for adventurous clients, these techniques bring in better money and happier customers. Get trained, grab quality tools, and watch your bookings fill up!
What Makes Japanese Eyelash Extension Techniques Different?
Japanese eyelash extensions have gained serious traction in salons because they prioritize quality over quantity. While other methods focus on maximum volume and drama, Japanese techniques take a completely different approach that appeals to clients who want refinement instead of boldness.
Three Core Principles:
- Precision Application: Every single natural lash receives individual attention during the appointment, with careful selection of curl, length, and placement for each extension.
- Natural Enhancement: The technique works with your client's existing lash line and eye shape rather than creating a dramatically different appearance.
- Individual Lash Isolation: Each extension attaches to one natural lash only, with no clumping, sticking, or overlapping that can damage natural lashes.
How Japanese Methods Differ from Volume Techniques:
- Volume Lashing: Uses fans of 2-6 lightweight extensions per natural lash to create fullness and drama.
- Mega Volume: Applies fans of 6-16 ultra-fine extensions for maximum density and bold looks.
- Japanese Technique: Uses individual lash extensions only, with one extension per natural lash, focusing on definition and length while maintaining a natural, effortless appearance.
How to Apply Japanese Eyelash Extensions Step by Step
Getting Japanese application right takes practice, but breaking it down into clear steps makes the process easier to learn and perfect over time. Follow these techniques to create natural looking lash extensions that keep clients coming back.
Step 1: Isolate and Attach Each Extension Properly
Proper isolation is the foundation of quality Japanese lash work and prevents damage to natural lashes.
- Use your isolation tweezers to separate one natural lash completely from its neighbors on all sides.
- Pick up your extension with application tweezers and dip just the base in adhesive (1-2mm coating only).
- Position the extension 0.5-1mm away from the eyelid along the natural lash shaft.
- Hold steady for 1-2 seconds to ensure the bond sets completely.
- Gently release and check that no neighboring lashes have stuck together before moving on.

Step 2: Select the Right Curl Type
Different curl types create different effects, so matching the curl to your client's natural lashes and desired look is essential.
| Curl Type | Best For | Effect | Ideal Eye Shapes |
| J Curl | Clients wanting minimal change | Adds slight length with almost no lift | Hooded eyes, downward-pointing lashes |
| B Curl | Subtle everyday enhancement | Gentle lift that looks natural | Most eye shapes, professional settings |
| C Curl | Visible eye-opening effect | Noticeable curl while staying natural | Round eyes, clients wanting more definition |
Step 3: Choose Appropriate Diameter and Length
Selecting the right dimensions ensures comfort and creates natural looking lash extensions that don't overwhelm the natural lash line.
Diameter Selection:
- 0.10mm-0.12mm: Fine, damaged, or weak natural lashes
- 0.15mm: Average natural lashes (most clients fall here)
- 0.18mm-0.20mm: Thick, healthy natural lashes only
Length Selection:
- Stay within 2-3mm of natural lash length for authentic results
- Example: 8mm natural lashes = 9-11mm extensions maximum
- Outer corners can go 1mm longer for subtle lift
- Inner corners should be shortest (6-8mm typically)
Step 4: Apply Adhesive Correctly for Better Retention
Your adhesive technique directly impacts how long your sets last and how comfortable they feel.
- Control your environment: Maintain 45-60% humidity and 68-72°F temperature (use a hygrometer to monitor).
- Choose the right adhesive: Use 1-2 second drying time formulas for precise Japanese placement.
- Use minimal product: Dip only the extension base to create a thin coating, not a thick blob.
- Refresh regularly: Replace your adhesive drop every 20-30 minutes to maintain consistent performance.
- Attach to healthy lashes: Target lashes in anagen or catagen growth phases for best retention.

Step 5: Avoid These Common Application Mistakes
Even experienced lash artists can fall into bad habits that compromise results and client satisfaction.
❌ Don't attach to baby lashes: Lashes under 4mm will shed within days and create noticeable gaps in the set.
❌ Don't place extensions too close or too far: Keep 0.5-1mm distance from the lash line; closer causes irritation, farther causes twisting.
❌ Don't overload adhesive: Excess glue adds weight, creates stiff uncomfortable lashes, and takes longer to cure.
❌ Don't mix curls randomly: Plan your curl pattern during mapping; intentional transitions look professional, random mixing looks sloppy.
❌ Don't rush isolation: Stickies are the number one cause of client complaints, poor retention, and natural lash damage.
How Does Japanese Lash Mapping Work for Different Clients?
Lash mapping is where customization happens in Japanese eyelash extensions. Every client has unique eye shapes, natural lash patterns, and facial features that require different approaches for the best results.
Analyzing Different Eye Shapes
Proper eye shape analysis determines your entire mapping strategy and helps you create natural looking lash extensions tailored to each client.
| Eye Shape | Characteristics | Mapping Strategy | Goal |
| Almond | Balanced proportions, slightly upturned outer corners | Even distribution with slight outer emphasis | Maintain natural balance, add definition |
| Round | Wide-set appearance, visible lid space | Longer lengths at outer corners, shorter at center | Create subtle elongation without overdoing drama |
| Hooded | Less visible lid space, skin folds over crease | J or B curls, focus on outer 2/3 of lash line | Lift outer corners without hitting the hood |
| Monolid | No visible crease, flatter eyelid surface | C curls for lift, avoid excessive length | Open the eye while keeping comfort |
| Downturned | Outer corners angle downward | Longer curled lashes at outer corners | Create lift and balance the downward angle |
Creating Symmetry and Enhancing Natural Features
Symmetry doesn't mean making both eyes identical—it means balancing them so they look harmonious together.
- Measure and compare both eyes: Take photos straight-on and note differences in eye height, size, and angle.
- Identify the higher/lower eye: The lower eye often needs slightly more curl or length at the outer corner to create balance.
- Check pupil alignment: Map your longest lashes where the pupils align when the client looks straight ahead.
- Work with natural features: If one eye is slightly more hooded, use shorter lengths on that side to prevent hitting the skin.
- Step back frequently: View your work from 2-3 feet away throughout the application to catch asymmetry early.
Mapping Patterns for Popular Japanese Styles
Each Japanese style needs a different lash length pattern to create its signature look. Here's how to map each one:
| Style | Where the Longest Lashes Go | Length Guide | The Effect You Get |
| Cute Eye (Doll Eye) | Center of the eye (right above the pupil) | 9mm inner → 11-12mm center → 10mm outer | Wide-eyed, youthful, innocent look |
| Elegant Eye | Outer third of the eye | 8mm inner → 10mm middle → 11-12mm outer | Subtle cat-eye lift, professional and polished |
| Sexy Eye | Outer quarter with sharp angle | 8mm inner → 9-10mm middle → 12-13mm outer | Dramatic elongation without looking fake |
| Natural Eye | Slight peak in the middle | 8mm inner → 10-11mm middle → 9-10mm outer | Mimics natural growth, perfect for beginners |
These measurements are starting points—adjust based on your client's natural lash length. If their natural lashes are only 6mm, don't jump to 12mm extensions or it'll look fake.
How to Create Anime and Manga-Inspired Lash Extensions
Anime lash extensions are popular with younger clients who want bold, artistic lashes instead of natural-looking sets.
Step 1: Plan Your Anime Lash Pattern
Before you start applying, map out where you'll create gaps and drama.
- Mark where you'll skip lashes to create intentional spacing (don't fill every natural lash).
- Identify the outer corner lashes where you'll add extreme length.
- Decide if you're adding color and where it will go.
- Choose D or DD curls for your entire set—no softer curls for anime looks.
Step 2: Apply Extensions with Strategic Spacing
Create that spiky, illustrated effect by changing your normal application pattern.
- Apply one extension, then skip the next natural lash completely.
- Alternate between 12mm and 10mm lengths in the same area for uneven, drawn-on appearance.
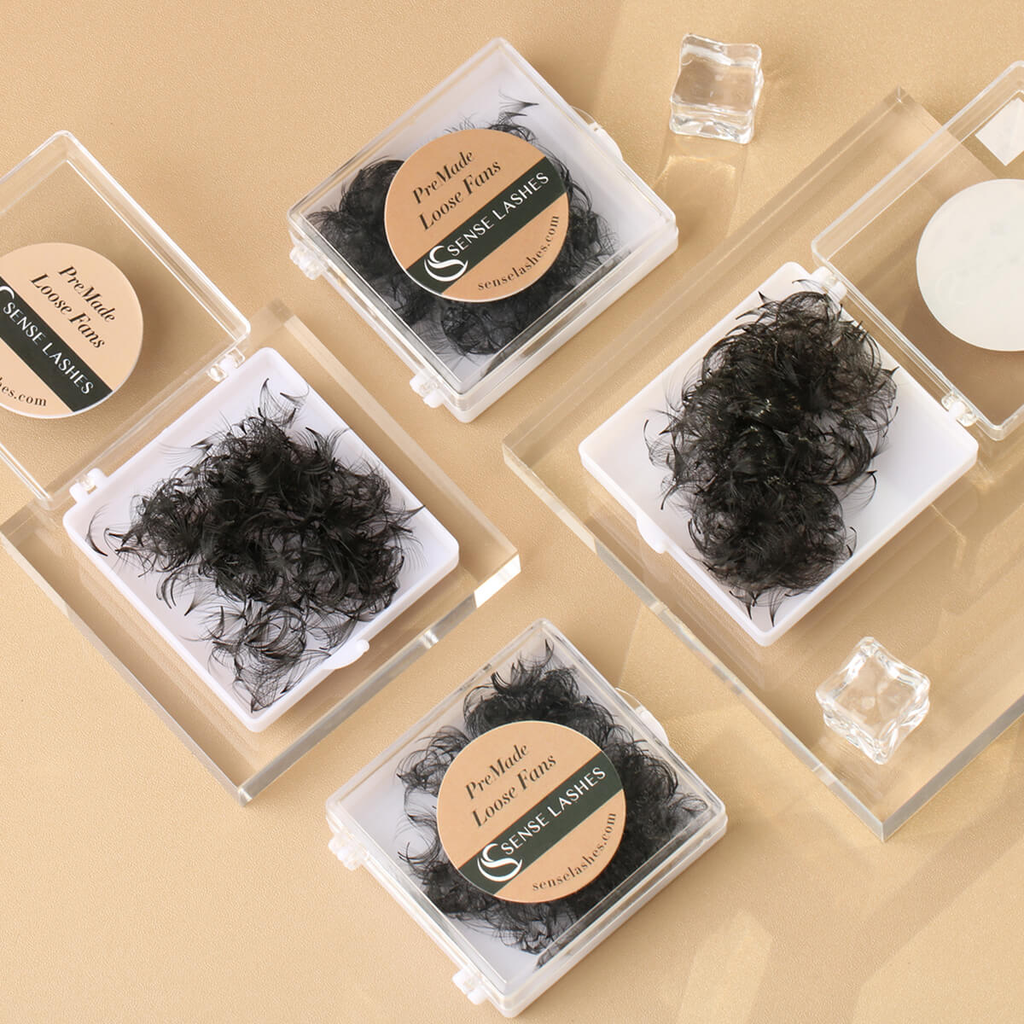
- Place pre-made wispy fans throughout (not on every lash) for extra texture.
- Keep gaps visible—they're intentional, not mistakes.

ファストウィスピー - 7Dプレメイドボリュームルーズファン ポインティベース(500ファン)
厚さ: 0.05
カール: C
長さ: 8mm
Step 3: Build the Dramatic Outer Corners
The outer corners create that recognizable anime exaggeration. Unlike natural Japanese techniques, anime lashes intentionally ignore the 2-3mm length guideline—expect to use extensions 5-8mm longer than natural lashes for this style.
- Switch to 15-18mm extensions at the outer quarter of the eye.
- Apply extensions to the very last natural lashes and let them stick out past the eye corner.
- Make sharp length jumps (go from 11mm straight to 16mm) instead of gradual transitions.
- Angle these outer lashes upward more dramatically than you would for natural sets.
Step 4: Add Color and Creative Elements
If your client wants color, add it strategically for maximum impact.
Color placement options:
- Scatter purple, blue, pink, or green extensions randomly throughout the set
- Place all colored lashes at outer corners only for a bold accent
- Create black-to-color gradients from roots to tips
- Mix matte black with glossy colored extensions for texture contrast
Keep it simple at first: Start with small packs of 2-3 colors (pink, purple, white) to test client demand before buying full inventory.
Popular Japanese Lash Styles to Offer Your Clients
Japanese lash artists have developed specific mapping styles that create different eye effects. Knowing these four main styles helps you match clients to looks that actually work for their lifestyle.
Cute Eye (Doll Eye)
This style places the longest lashes in the center of the eye to create a round, wide-eyed look. It suits clients with almond or cat eyes who want to appear more youthful and approachable. Perfect for clients in creative fields or those who prefer a softer, innocent vibe.
Elegant Eye
A subtle cat-eye effect with slight length increase toward the outer corners creates a lifted, sophisticated appearance. This works best for professional environments—think corporate jobs, client-facing roles, or anyone needing polished everyday lashes. Most versatile style across different eye shapes.
Sexy Eye
The longest lashes concentrate on the outer third of the eye for dramatic elongation and lift. Clients with round or downturned eyes love this style because it creates that sultry, elongated effect. Great for evening wear or clients who want noticeable lashes.
Natural Eye
Even length distribution across the entire lash line with minimal variation. Ideal for first-time extension wearers, mature clients, or anyone wanting enhancement without obvious styling. Works for literally every eye shape and lifestyle.
During consultation, ask about your client's job, daily routine, and makeup habits to recommend the right style—not just what looks pretty in photos.
What Products and Tools Do You Need for Japanese Lash Techniques?
Japanese lash application requires precision tools and quality materials to achieve those natural, long-lasting results clients expect. Here's everything you need to set up your station properly.
Lash Extension Materials: Choosing the Right Type
Understanding the differences between lash materials helps you select the best option for Japanese techniques and your clients' needs.
| Material | Pros | Cons | Best For |
| PBT (Synthetic) | Holds curl consistently, moisture-resistant, affordable, widest variety | Can feel slightly stiffer | Japanese techniques, most clients, everyday wear |
| Silk (Synthetic) | Lighter weight, softer texture, glossy finish | Loses curl over time, especially in humidity | Fine natural lashes, clients wanting ultra-soft feel |
| Mink (Real Fur) | Most natural taper, lightest feel | Ethical concerns, expensive, inconsistent curl retention | Clients specifically requesting it (declining popularity) |
High-quality PBT lashes in 0.15mm diameter work best for Japanese techniques. Professional brands include BL Lashes, Sugarlash Pro, and Xtreme Lashes, though Korean manufacturers offer excellent quality at lower prices.
Tweezers: What You Need for Isolation and Application
You need two different types of tweezers working together for proper Japanese lash application.
Isolation Tweezers Features:
- Straight or slightly curved design for better natural lash separation
- Fine, precise tips that grip single lashes without slipping
- Boot-shaped or L-shaped options provide better lash line visibility
- Tips must align perfectly when closed (gaps = poor isolation)
Application Tweezers Features:
- Angled or curved tips for better extension placement control
- Medium tension (not too tight or too loose)
- Designed for single lash pickup, not volume fans
- Comfortable grip for extended use without hand cramping
Quality brands: Swisstweezerz, Volum, I-Beauty. Cheap tweezers lose alignment quickly and slow down your work significantly.
Pick the Right Adhesive for Your Room Conditions
Your adhesive won't work properly if it doesn't match your room's humidity and temperature. Here's how to choose the right one:
| Your Room Conditions | Adhesive Dry Time | What to Use |
| Ideal Setup (45-60% humidity, 68-72°F) | 1-2 seconds | Medium viscosity, black for most clients |
| Humid Areas (60%+ humidity) | 2-3 seconds | High-humidity formula |
| Dry Climates (Below 40% humidity) | 1-2 seconds faster | Low-humidity formula + nano mister |
| Sensitive Clients | 3-4 seconds | Low-fume adhesive |
Don't buy every adhesive type right away. Start with one good quality adhesive that matches your room conditions, then add a sensitive formula once you get clients who need it. Same goes for your other supplies—invest in professional tweezers and basic extensions first, then add specialty items as your skills and client base grow. Quality tools make your job easier and last way longer than cheap alternatives.
Take Your Lash Skills Beyond Basic with Japanese Eyelash Extensions
Why compete on price when you can compete on skill? Japanese eyelash extensions—whether natural looking lash extensions or trendy anime lash extensions—command premium rates because they require real artistry. Focus on perfecting individual lash extensions application, get certified if you can, and build a portfolio that shows off your precision. Take the leap, practice consistently, and watch your salon reputation transform!
コメントを残す