


How to Photograph Lash Extensions With a Phone: Lighting, Angles, and Macro Lens Tips

Use a repeatable phone setup to photograph lash extensions with true-to-life lighting, clear angles, sharp macro detail, and honest edits.
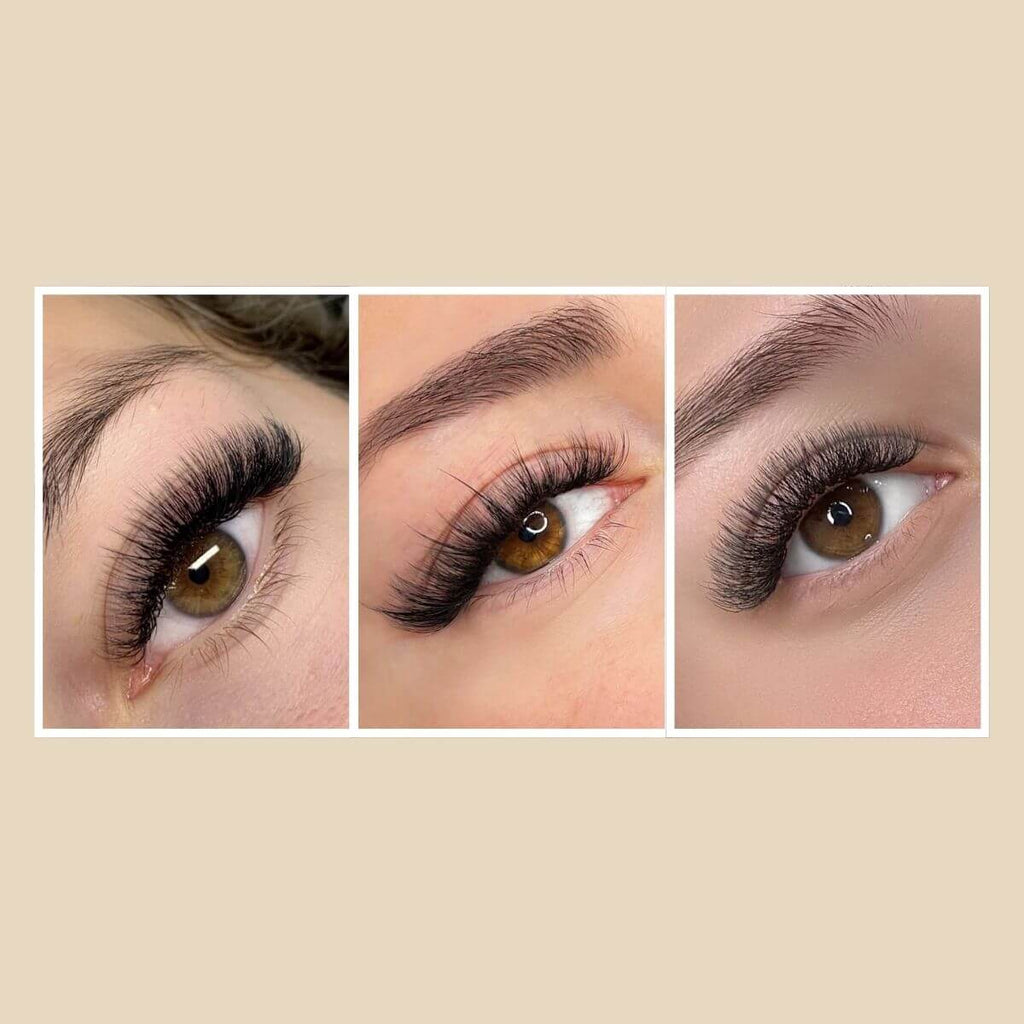
To photograph eyelash extensions before-and-after photos with a phone, use soft, consistent light, take three standard views, lock focus on the lash line, and edit only for accuracy. That setup shows curl, direction, density, and attachment clearly enough for a real portfolio comparison.
What Lighting Makes Lash Extensions Look True to Life?
Use Window Light When It Is Available
Soft, even daylight is the most reliable choice for lash photos because it shows color, density, and texture without the yellow cast common in salon lighting. Position the client facing a bright window, but keep direct sun off the face. A sheer curtain or a white diffuser softens harsh shadows.
Use a Neutral LED When Daylight Changes
If daylight is not dependable, use a high-quality LED light with a neutral color setting and keep it in the same position for every appointment. Turn off mixed overhead lighting whenever possible. Mixing window light with warm ceiling bulbs can make black lashes look brown, exaggerate skin redness, and make one side of the face brighter than the other.

Choose one setup, mark its position, and use it for both the before and after image.

Color: BLACK
Which Angles Show Styling and Attachment Clearly?
Eyes closed: Show the map, direction, spikes, and texture.
Soft downward gaze: Show curl, density, and attachment detail.
Eyes open: Show the finished frame on the client’s face.
One dramatic close-up is useful, but it cannot show everything a client needs to evaluate.

Eyes Closed: Show the Map
For a closed-eye image, stand above the client and keep the phone parallel to the lash line. This view shows the map, spikes, texture, and a smooth flow from inner to outer corner. Shooting too far from one side can make the outer corner look longer or fuller than it really is.
Downward Gaze: Show Attachment
For attachment, ask the client to look down gently with relaxed lids. Lower your camera slightly and photograph across the lash line at a shallow angle to show clean bases and direction. Keep the phone, lens, and light clear of the eye.
Eyes Open: Show the Finished Frame
For the open-eye image, have the client sit upright, look at a point just above the lens, and relax the forehead. Keep the camera at eye level and take the same crop for every client. Consistent framing makes eyelash extensions before-and-after comparisons more credible than a flattering angle chosen only for the after photo.
Take all three views in the same order at every appointment so the portfolio stays comparable.
Use a Macro Lens to Capture Detail Without Distortion
Set Up the Lens First
A clip-on macro lens helps a phone capture fine lash detail when its normal camera cannot focus close enough. It is useful for showing narrow fans, wispy texture, and the lash line. Center it over the phone camera and wipe both lenses before each use.
Keep the Detail Shot Honest
Macro magnification also makes small mistakes look larger. Leave a little room beyond the lens's minimum focus distance, then crop slightly. Extreme close-ups often look less natural. Shoot a short burst and select the sharpest frame. An HD Macro 2-in-1 Mobile Phone Lens is one option for close-up lash photography.

Do not use a wide-angle lens for detail images. Wide lenses stretch features near the edge of the frame and can make the outer corner look pulled or unusually long. For a true comparison, use the same camera, lens, distance, and crop for the before and after images.
Use macro only for the detail view; keep the full-eye image on the standard phone lens.

COLOR: GOLD
How Should You Set Focus and Exposure on a Phone?
Use the same three-step sequence for each image:
Tap the lash line to set focus, then lock focus and exposure if the camera allows it.
Lower exposure a small amount until individual fibers remain visible.
Hold the phone still and take several frames before reviewing sharpness.
Avoid relying on automatic mode after you have found a good setting. Phones often brighten a close-up because they read the dark lashes as a shadow. That can erase separation between fibers. If your camera app offers it, turn off portrait mode and beauty filters for portfolio photos. Portrait processing may blur the lash line or replace fine texture with artificial sharpness.
Keep the phone still with your elbows braced, a small tripod, or a stable mount. A slightly wider, sharp image can be cropped later; a soft extreme close-up cannot be fixed.
Locking the settings and holding the phone steady matter more than moving closer.
Edit for Clarity Without Changing the Result
Use light edits to correct how the camera recorded the image: white balance, exposure, crop, shadows, or light sharpening. Do not change lash length, curl, thickness, gaps, skin texture near the lash line, or eye shape. Those changes alter the service result. If a photo needs heavy correction to look presentable, retake it under better light.
Save an unedited original and an edited export. The original gives you a record of the service, while the exported image is easier to organize for social posts, consultations, and a portfolio.
Create a Lash Portfolio Clients Can Evaluate With Confidence
Build trust with consistent photos, not a few flattering shots. Label each set with the style, curl, lengths, density, and client goal. Keep the before and after images in the same light, at the same distance, and in the same crop. Save the original alongside the final export, and get permission before sharing any image. At your next appointment, use the three-view sequence from this article and review the photos before the client leaves. A repeatable process gives clients a clearer way to judge your work.
Phone Lash Photography Questions Answered
Q1. Should You Use Flash for Lash Extension Photos?
Avoid a direct phone flash for most lash photos. It can create bright reflections on the lid and deep shadows under the brow, which hide fiber separation. Use soft window light or a diffused LED light, then test one frame before the client leaves.
Q2. What Background Works Best for Lash Photos?
Use a plain, matte background in a light neutral color. Busy prints, mirrors, and colorful salon walls pull attention away from the lash line and can affect the phone’s exposure. Keep the background the same when you photograph before-and-after pairs.
Q3. Should You Use 1x or 2x for Lash Photos?
Use 1x for a full-eye image and 2x only when your phone can keep the lash line sharp at that distance. A longer focal length can make the eye shape look more natural, but digital zoom often softens fine fibers. Move closer with a macro lens when you need attachment detail.
Q4. Can a Client Selfie Be Used as a Before-and-After Photo?
Yes, as long as you label it clearly as a client selfie, not a controlled comparison. Different lighting, filters, camera distance, and angles make it unreliable for showing the exact result. Use your own standardized after photo as the main portfolio image.
Q5. How Can You Reduce Reflections on the Eyelid?
Move the light slightly above and to one side of the face, then tilt the client’s chin a little until the shine fades. Oily eyelids, glossy eye makeup, and a light placed straight in front of the face can create glare. Blot excess shine before shooting and take a test frame before changing exposure.
Leave a comment