


Wet Look Lash Extensions: Techniques for Creating This Trendy Style

Master wet look lash extensions with our step-by-step guide. Learn the closed fan method for glossy, textured spikes clients will rave about.
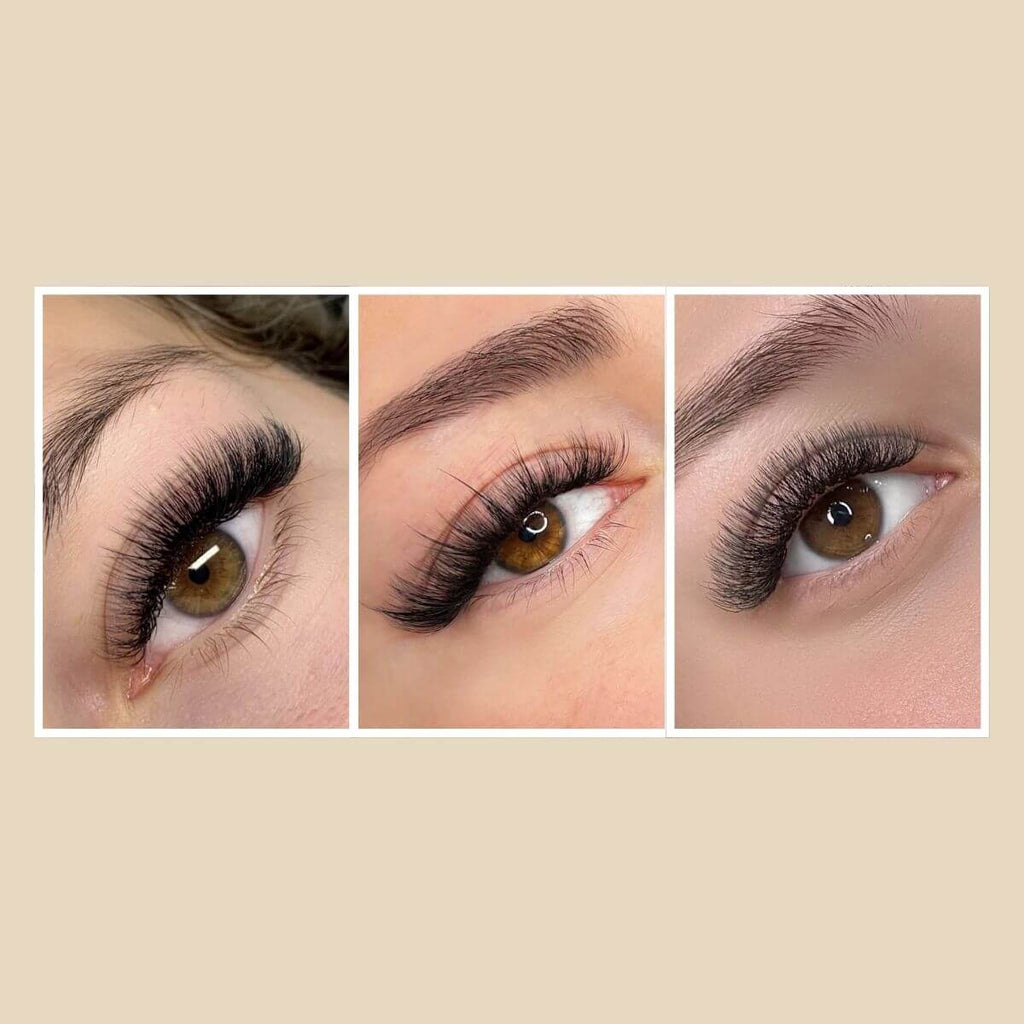
Wet look lash extensions use narrow, closed or nearly closed volume fans to create smooth, glossy bundles. Clean spacing, a well-planned map, and consistent direction give the set a polished finish. Each client’s lash line calls for small adjustments, so the wet look works best as a technique you tailor to the person in the chair.
What Makes a Wet Look Lash Set Different?
A wet look set has slim, defined bundles that stay close together from base to tip. The texture comes from the clean, narrow fan shape and even spacing across the lash line.
Wet look and wispy styles both have texture, yet they create different finishes. Wet look and wispy lash styles mainly differ in spacing. Wet sets use a steady, uniform bundle pattern. Wispy sets use more contrast between peaks and softer areas.
Your lash map controls where the length and lift sit. The closed-fan technique controls the final texture.

Pick a Wet Look Map Before Application
Build the map around the client’s natural lash direction, lid space, and preferred finish. A pattern that looks balanced on a mannequin may need a shorter peak, a softer curl, or a different placement on a real lash line.
Use these as starting patterns.
| Desired Finish | Example Length Flow | Best Use |
| Soft and balanced | 7-8-9-10-9-8 mm | A centered, wearable finish with clear texture |
| Open-eye focus | 7-8-9-10-11-10-9-8 mm | More emphasis through the center |
| Gentle elongation | 7-8-9-10-11-10-9 mm | More length through the outer-middle area with a soft tail |
Choose a pattern that follows the natural lash line and keeps length changes gradual. This keeps the closed fans looking smooth and connected across the set.
Build the Set With Clean, Controlled Layers
Wet look work gets easier when you focus on visibility, fan shape, and placement in that order. A tidy setup also makes it easier to catch direction issues early.
Prepare the Lash Line
Cleanse according to your regular professional routine. Check the natural lashes, then adjust the map where needed. Secure the lower lashes with under-eye pads for extension work so the upper lash line stays clear and comfortable during the appointment.
Mark the key length changes before placing extensions. Those marks keep the pattern steady as you move through each layer.
Choose the Fiber and Fan Shape
Use a lightweight fan size and diameter that suit the client’s natural lashes. A wet look needs a narrow bundle with a tidy base. Pick up a fan that holds this shape naturally.
Different volume lash trays give you options for density and finish. Match your choice to the client’s lash strength and the look you are creating.
A closed fan is a volume fan whose fibers stay together or almost together from base to tip. It creates the slim bundles behind the wet effect.

Place for Direction Before Density
Place the first layer with clean isolation and steady direction. Each bundle should follow the natural lash and sit comfortably away from nearby lashes. Work in small sections so you can compare both eyes as the pattern develops.
Keep the same visual rhythm through the next layers. Add length where the map calls for it, and keep the bundle width consistent. From the front, the set should look sleek and intentional.
Check the Finish From Every Angle
After removing tape, brush gently and check the lashes from the front, above, and both sides. Look for crossed bases, uneven spacing, or bundles that fall outside the planned direction. Clean bases and a repeatable bundle pattern give wet look lash extensions their finished look.
Fix Common Wet Look Problems
Most wet look issues come from fan width, spacing, or direction. Correcting the pattern early keeps the set clean.
| Problem | Likely Cause | Practical Adjustment |
| Bundles look thick or blunt | Fans are too wide or the bases carry too much adhesive | Pick up a narrower bundle and use a small, clean adhesive amount |
| The set has random gaps | Placement follows isolated peaks rather than a steady bundle pattern | Return to the marked map and fill each section evenly |
| Outer corners drop or twist | The map ignores natural lash direction or adds too much length | Shorten the outer section or move the peak slightly inward |
| Texture fades after brushing | Fans open too much during pickup or placement | Keep the fan narrow from strip to placement and brush lightly |
| Bases look crowded | Isolation or spacing slips between layers | Pause, separate the area, and reset direction before continuing |
Adjust the Look for Each Client
A wet look relies on shape and balance, with the peak placed around the client’s natural lash direction, lid space, and eye shape. Keep the closed-fan texture even as you adjust the map.Use a shorter, more even map for a softer result. Add gradual contrast around the peak for more impact. If the planned design feels too heavy for the natural lashes, simplify the map and keep the bundles clean.
Practice One Pattern Until It Feels Consistent
Repeat one wet look map until the spacing, direction, and bundle shape look even from every angle. Photograph the result before and after brushing, then review where the map or fan shape needs refining. Consistent results come from steady placement and careful checks throughout the set.
FAQs
Q1. Can Premade Fans Create a Wet Look Set?
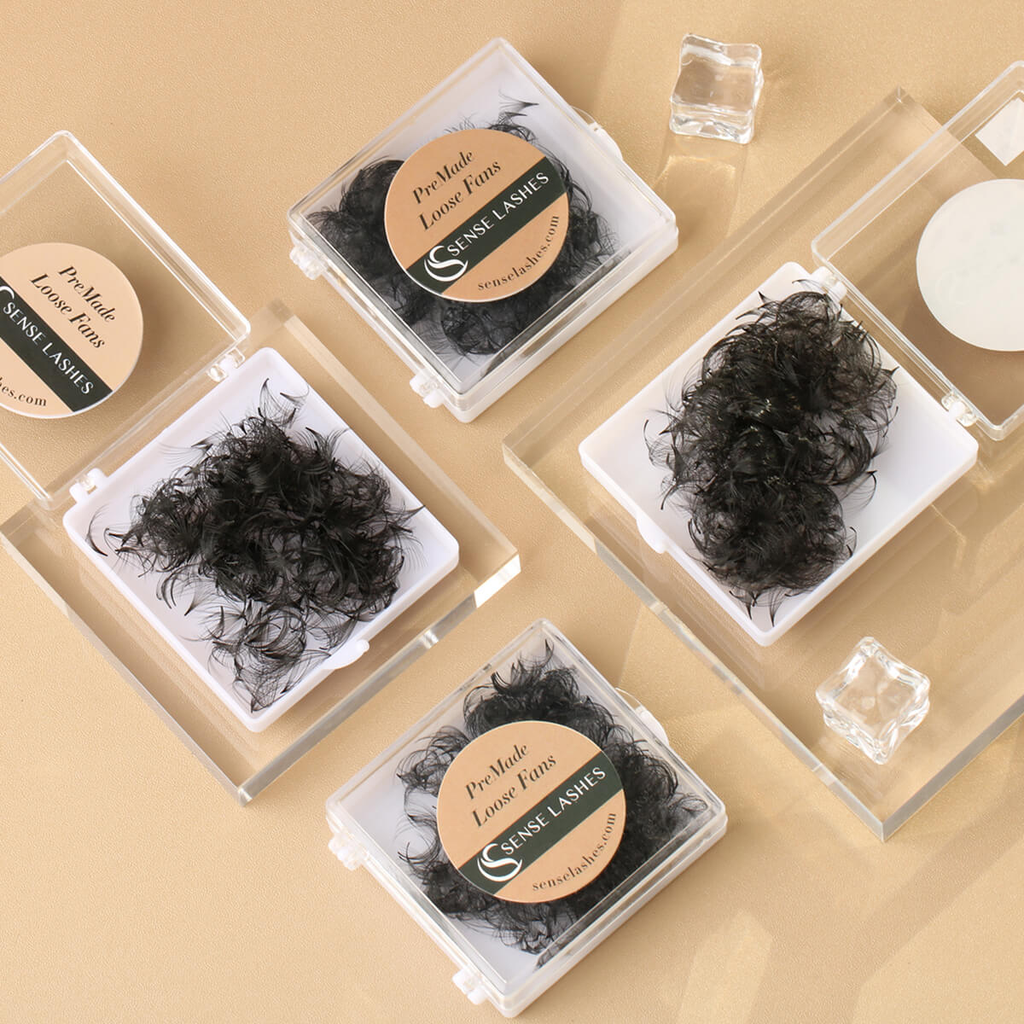
Yes. Premade fans work well for a wet look when the base and width stay narrow enough to read as a clean bundle. Check how each fan opens after pickup and placement before using it across the full set.
Q2. How Does Humidity Affect a Wet Look Set?
Humidity affects adhesive working speed, so fan placement needs to match the conditions in the room. Follow the adhesive manufacturer’s instructions, refresh adhesive drops as needed, and change one working variable at a time when retention or placement becomes inconsistent.
Q3. Can a Wet Look Set Use Brown Lashes?
Yes. Brown lashes create a softer wet-look effect for clients who want visible texture with less contrast. Keep the bundle pattern narrow and even so the finish stays clear.
Q4. Can a Wet Look Set Be Refilled?
Yes, a wet look set can be refilled when the retained extensions still sit cleanly and the lash line can support the chosen pattern. Remove outgrown or misdirected extensions before rebuilding the bundle rhythm, since an uneven base makes the finished texture harder to control.
Leave a comment