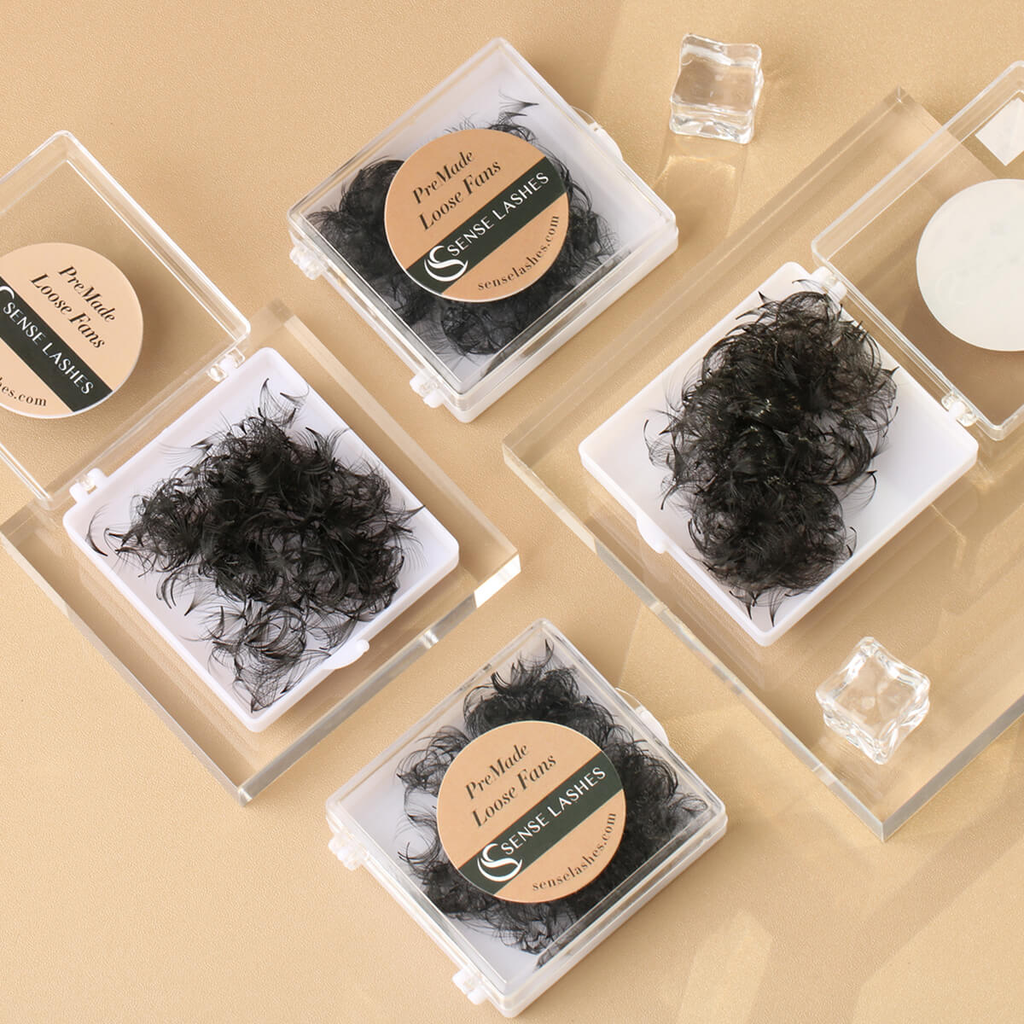
Wet Look Lash Extensions: Techniques for Creating This Trendy Style
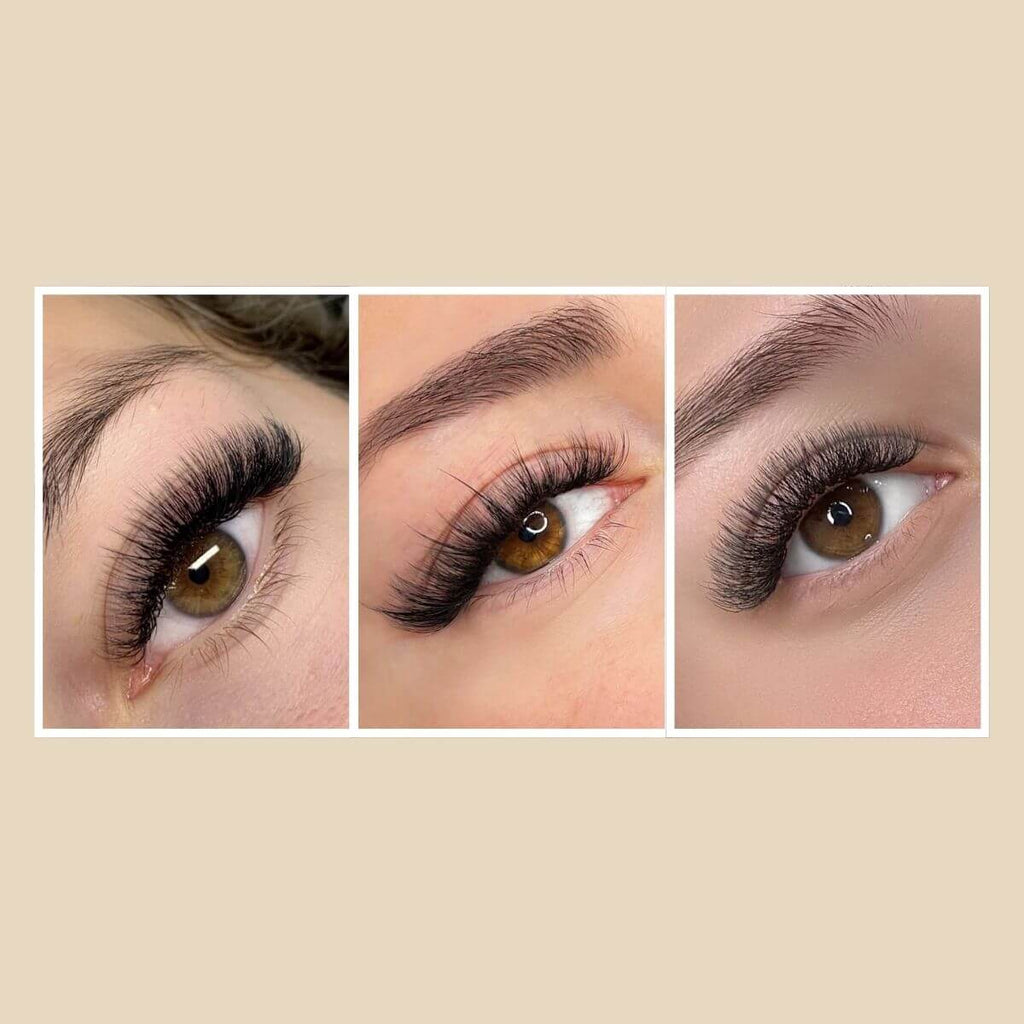
How many times this week has a client asked for "those wet-looking lashes like on Instagram"? Wet look lash extensions are officially the hottest request in lash studios everywhere. This trendy style creates those textured, glossy spikes that make clients feel like celebrities walking out your door. The wet look lash technique might seem tricky at first, but once you get the hang of the closed fan method, it becomes your secret weapon for happy clients. Your appointment book will thank you for learning this one.

What Makes Wet Look Lash Extensions So Different?
The look in one line: glossy, textured spikes that last for weeks—like fresh mascara, without clumps.
How it’s built: use closed fans (2–3D kept tight) to create individual spikes instead of fluffy volume. Pick lighter diameters (0.03–0.05) so the spikes stay crisp and weight stays safe.
Quick contrast:
Why clients ask for it: it photographs beautifully, catches light, and delivers an editorial vibe that’s bolder than wispy sets but more wearable than strip-lash drama. Celeb/IG looks made it mainstream, so salon clients now want that same clean, glossy texture for everyday wear.
What Tools Do You Need for Perfect Wet Look Lashes?
Before you map the eye, lock in these specs and a simple toolkit—this is what keeps the spikes crisp.
1. Lash specs that actually work
Diameter:
- 0.03 mm → safest for most clients; crisp, lightweight spikes
- 0.05 mm → only for strong naturals
- Avoid 0.07+ mm → too heavy; spikes collapse
Curl:
- L / L+ / M → sharp lift = true “wet” spikes
- Avoid C / D → too round, loses the wet texture
Length map (3 layers):
- Bottom: 6–8 mm
- Middle: +1 mm (7–9 mm)
- Top: +1 mm again (8–10 mm)
2. Pro tools checklist
- Isolation tweezers (curved): sharp, fine tip for clean layering
- Application tweezers (straight): precise placement of tight/closed fans
- Medical-grade eyelid tape: holds finished layers out of the way, low-irritation
- Gel eye patches: stable, non-slip base for long sets
- Quality adhesive: 1–2 s cure; match to your room’s temp/humidity
- Super bonder: cures bonds between layers to prevent stickies
- Soft spoolie brushes: blend and comfort-check mid-set and at finish
3. Quick setup tips
- Lay out tools in use order (isolate → place → bond → brush).
- Keep adhesive fresh (small drops, frequent refresh).
- Work light to heavy: start with 0.03 spikes; move to 0.05 only if naturals allow.
With specs and tools set, the application flows: cleaner layers, lighter weight, happier clients.


How to Create Perfect Wet Look Lashes Step-by-Step
Learning wet look application is all about patience and precision. This technique takes longer than regular volume work because you're building three distinct layers, but the results are worth every extra minute.
Prep Before You Start
A quick consult and clear map save time later. Confirm the look, note any sensitivities, and set expectations for fill cycles and aftercare.
Assess the Natural Lashes
Check strength and density. Aim for ≥80 natural lashes per eye and ≥6 mm length. Note cowlicks, gaps, or downward growth that could change spike direction.
Map the Design
Plan lengths and curls by zone:
- Inner corner: L curl, 6–7 mm
- Center: L+ curl, 9–11 mm (your longest)
- Outer corner: M curl, 8–9 mm
Mark where each spike will sit so both eyes match.
Set Up the Client
Apply non-slip gel patches. Slightly elevate the head to keep adhesive from running. Position lighting to see every natural lash, and place tools within easy reach.
Layer 1: Foundation (Bottom Layer)
Your bottom layer creates the base for everything else. Here's how to apply it correctly.
Apply eyelid tape
- Use medical-grade tape to lift the upper lashes and fully expose the bottom layer.
- Anchor the tape at both outer corners, leaving the center slightly looser for comfort.
- Confirm that every lash in the bottom row is clearly visible before you begin.
Create the spikes
- Build each spike with 2–3 lashes per fan and keep the fan nearly closed for a tight, wet-look tip.
- Use a minimal amount of adhesive so the spikes set cleanly without clumping.
- Attach a spike to every available bottom-layer lash to avoid gaps in the final set.
- Align all spikes in the same upward direction to keep the design polished and consistent.
Choose the lengths
- Start with 6–8 mm on the bottom layer for most clients.
- Work methodically from the inner to the outer corner so you do not miss any lashes.
- Compare both eyes every few placements to maintain matching patterns and symmetry.
Layer 2: Building Volume (Middle Layer)
The middle layer creates depth and texture—lock the base, then add controlled volume without losing the crisp spike look.
Secure the bottom layer
- Coat all bottom-layer bonds with super bonder to prevent stickies.
- Wait at least 30 seconds for the bonder to cure fully.
- Brush gently with a soft spoolie to confirm nothing is stuck together.
- Tape the finished bottom layer out of your working zone so it stays protected.
Build the volume
- Isolate the middle-layer naturals cleanly, keeping them separate from the top layer.
- Apply spikes 1 mm longer than the bottom layer (e.g., 8 mm → 9 mm) to create dimension.
- Add small open fans in sparse gaps to even out density.
- Keep all fans tight enough to read as texture, not fluff.
Match different lash densities
- Full naturals: place a spike on every available middle-layer lash for a uniform, bold texture.
- Sparse naturals: alternate closed spikes with small open fans to fill gaps while preserving the wet-look pattern.
When the middle layer is balanced—longer, denser, and still defined—you’re ready for the top layer to refine the shape and finish the glossy effect.

Layer 3: Finishing Touches (Top Layer)
The top layer defines the silhouette and polish—aim for lift, shine, and balance without adding weight.
Choose the final lengths
- Select lengths that enhance the shape without overpowering the bottom and middle layers.
- Increase by +1 mm from the middle layer (typically 10–11 mm) if the client wants extra impact.
- Adjust for lifestyle and comfort; heavy screen time or glasses may call for slightly shorter spikes.
- Prioritize retention—slightly shorter top spikes usually last longer between fills.
Blend everything together
- Remove all tapes slowly so you don’t disturb the layers you’ve completed.
- Apply a final coat of super bonder to secure bonds across all layers.
- Brush gently with a soft spoolie to merge the three layers into one seamless, glossy set.
- Do a stickies check and separate any lashes that touched during curing.
When the top layer reads clean and cohesive—no stickies, aligned spikes, and an even shine—you’ve achieved the true wet-look finish clients book for.
Wet Look Lashes — Quality Control Checklist
1. Symmetry check: Both eyes match in spike pattern, length progression, and overall balance.
2. Comfort check: No pulling, pinching, or irritation during blinks or eye movement.
3. Direction check: Spikes align with the client’s natural lash growth; no cross-overs.
4. Stickies check: Separate any bonds that caught during curing; lashes move freely.
5. Finish check: Even shine, clean bases, and consistent spacing across all layers.
6. Documentation: Take clear before/after photos for your portfolio and client record.
Make More Money with Wet Look Lash Extensions
Wet look lashes are what everyone's asking for right now, and they can really help your business grow. It takes longer to do than regular volume lashes, but clients don't mind paying extra because the results look amazing. Once you get good at making the spikes and doing the layers, you'll have clients booking weeks ahead just for this style. Start learning how to do wet look lashes now - it's one of the best ways to make more money as a lash artist.


Leave a comment